
Snowboarding Tips for Intermediates
Sharpen Your Board Skills – Intermediate Snowboarding Tips
If you’ve cracked the basics of snowboarding and you’re ready to step things up a notch, our comprehensive list of snowboarding tips for intermediates could be just the thing you’re looking for, to help you brush up on your technique.
Are you a whizz at linking turns? Find boarding a breeze? Read on to master the theory behind intermediate snowboarding – and then join us on the snow for real!
Want to sharpen your board skills?
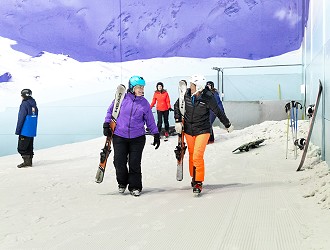
Book an improver lesson on real snow, right here in Manchester
Get better at snowboarding with our intermediate tips
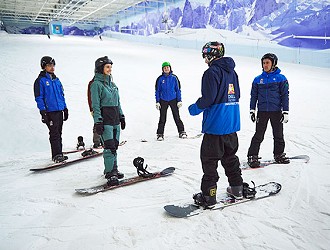
Board Stance
First up on our list of advanced snowboarding tips is board stance. Your board stance is the foundation for good technique. If you’re stiff and rigid, not only are you going to ache after a couple of hours of boarding, but your riding is going to suck. Snowboarding should be a fluid and you should be able to ride the slope terrain with ease. But to do this, your body needs to be relaxed and comfortable.
Once you’ve got the stance right, everything else will come much easier. First things first, look for that ‘sweet spot’ for the width of your feet. Too narrow and you will feel unstable on your board making your body tense and everything 5 times harder than it needs to be. Too wide and you’ll find it hard to move and feel uncomfortable making riding a nightmare.
The perfect board stance should see your feet just wider than your hips, giving you a full range of movement and the ability to really control your snowboard. When on your board you should stand with your knees slightly bent, directly over your feet Your arms should hang loosely at your sides with your hands, neck and shoulders relaxed and loose.
Check out our full list of snowboarding terms and definitions
Speed Control
Fed up of catching your edges and falling flat on your face? Maybe you even catch them a few times and turn as quickly as you can to counteract it –throwing in a bit of a hop or a skid to hasten it along. Sound familiar? You’ll be pleased to know this little mishap is down to a lack of speed control, and there are tricks you can follow to avoid this.
To avoid catching your edges and to control your speed, you need to make a smooth carving turn. Simply turn up the slope at the end of each turn to reduce your speed.
Carving Turns
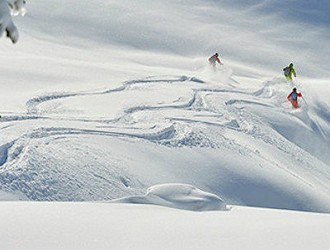
Carved turns are faster and stop the board from slipping – meaning you’re less likely to catch an edge and end up face planting the snow. Carving turns are the act of digging the edges of the board into the snow when turning, rather than simply sliding on the flat underneath of the board. Freestyle snowboarders use carving when spinning off jumps and in the half pipe, as well as when riding.
For a toe side carve, bend your knees and ankles and tip your snowboard on its edge by pressing your knees forwards towards the hill. The amount of pressure you push into your toes controls how much grip the board has in the snow.
Ready to put the theory into practice?
For a heel side edge, you need to squat a little as though sitting in a chair, tip the board back by lifting your toes and controlling the pressure the board has on the snow by pushing through your heels.
To turn when carving, on a toe edge, try twisting your front foot so that you are lifting your big toe up and tipping your foot towards the front of the board. This will push your front knee forwards, turn your hips and straighten that back leg a little. Try it on the flat first and then on a gentle blue run and you should feel the board start to turn.
For heel edge turns bend your front knee whilst lifting the heel of that leg. You should feel your rear leg straighten a little and your hips move forwards. Again, try this on the flat first and you should be able to see the board twist a little and the front lift a bit. Try it on a gentle blue (just like the tail end of our main slope) whilst making a carved traverse and see if you can feel the difference.
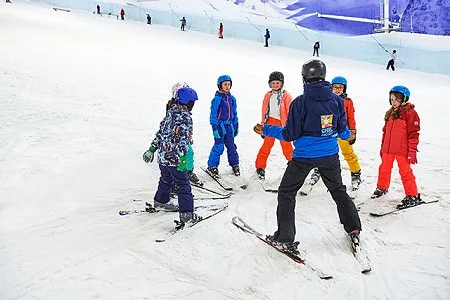
Practice Makes Perfect
As with all good things, practice really does make perfect. You won’t improve unless you get out onto the snow and put the time in. Lucky for you Chill Factore is open 7 days a week meaning that you can practise every day if you so wish. The more you come, the sweeter your moves will be and the more impressed your mates will be.
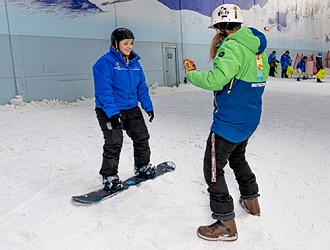
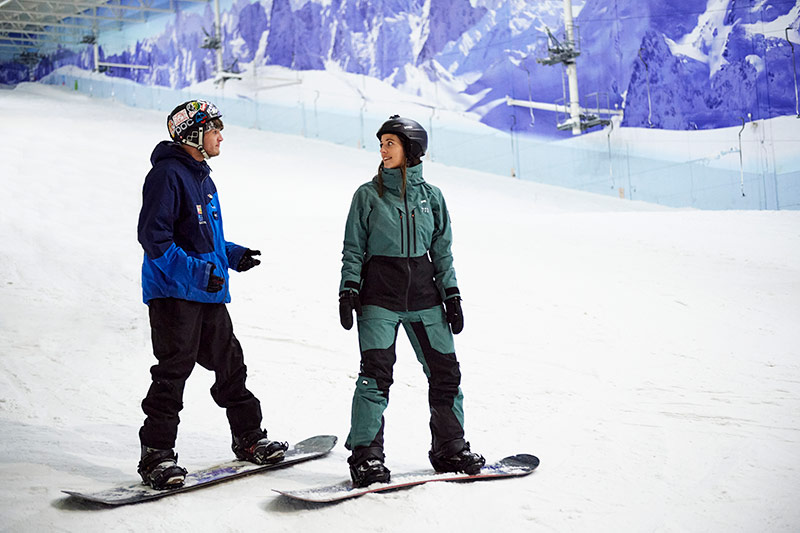
Our expert instructors are well equipped to guide your technique, perfect your body position and help you master smoother turns. Our improver snowboard lessons and rider development sessions will help boost your carving and freestyle development, by taking you step by step through each move. The best snowboarding skills are based on a solid foundation of knowledge and skill – and our expert team can help get you there.
Not ready for intermediate snowboard tips yet?
Book a beginner snowboarding lesson and work your way up.